The Process
After many years of experimentation, I've developed a unique process that utilizes contemporary tools and materials to craft woodblock prints.

|

|
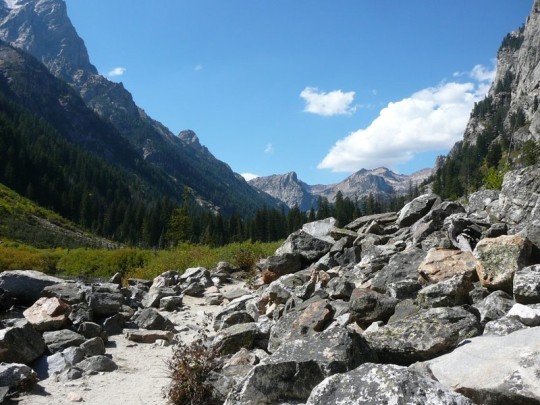
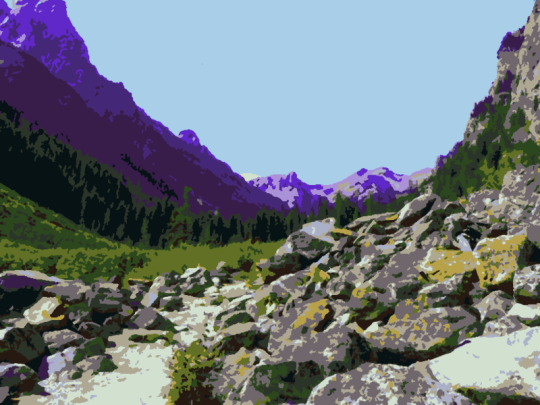
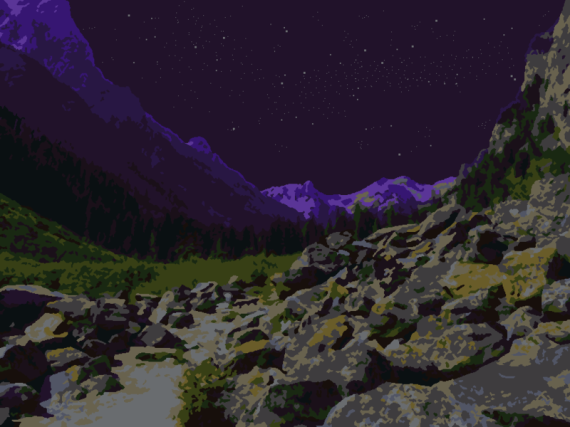
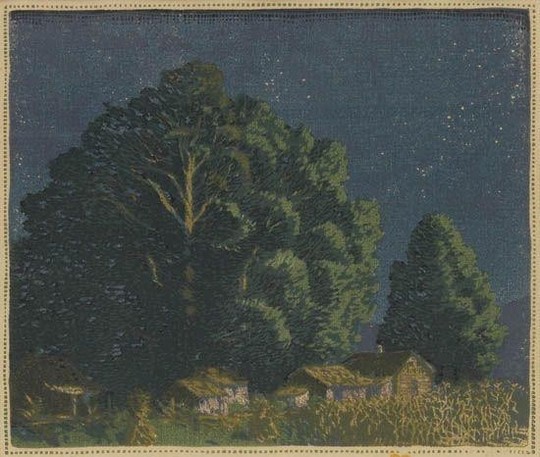
I've used the graphics design program to convert this day scene to a night scene. It's an homage to Gustave Baumann's October Night.
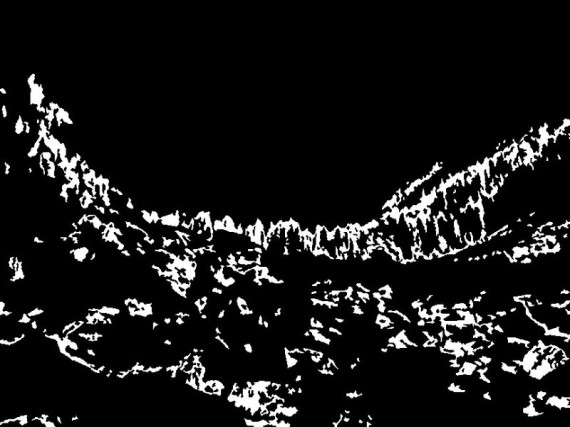
Each color in the image gets carved on a separate block, (although sometimes more than one of the minor colors can be placed on the same block if they are well separated). Each of the image colors is made as an individual black and white template to be sent to the engraver. The black areas are removed by the engraver, and white are not. Remember to invert the entire image so that it mirrors the original, or the print will be a reverse of the image. That part is easily done with one click.
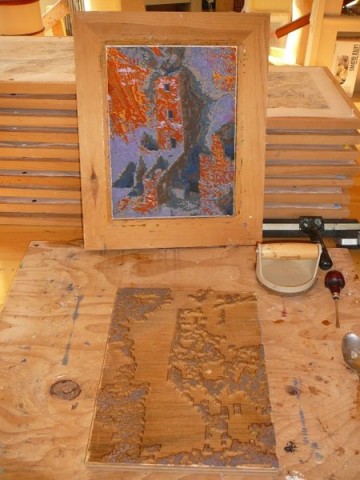
This is the template for one of the blocks in Cascade Canyon, which has 12 blocks.
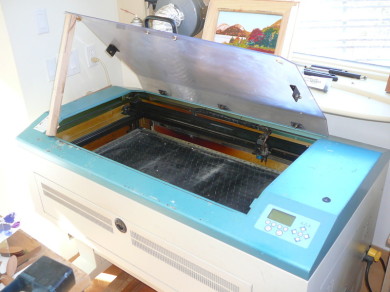
The wood blocks are cut with a laser engraver. Generally, I use around 15 blocks (+/-) to make a print. A 9" x 12" block takes about 7 hours to engrave. So... approximately 100 hours of machine time to engrave a set of blocks for a 9" x 12" print.
My preferred medium is 3/4" shop grade birch plywood, which is a good compromise between quality and price. I've also used various hardwood (cherry, maple, mahogany, birch) blocks, which all worked well, but are much more expensive. In addition to being much less costly, plywood is much more stable than solid wood, because of the laminated layers. It is less prone to warp, cup, or check than a solid board.
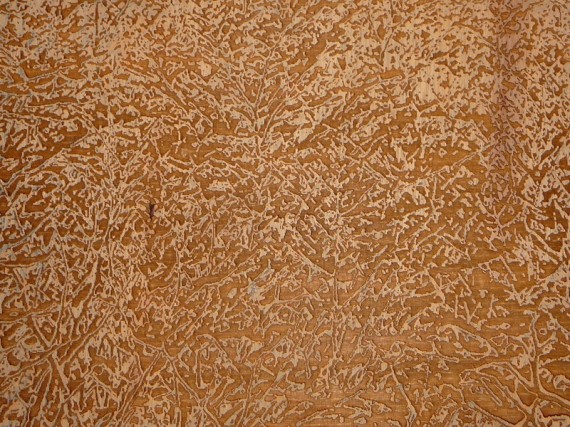
This is one of the completed blocks for the print Snowy Thicket.

High quality Japanese Okawara paper is pinned to wooden frames that are precisely the same size and thickness as the wood blocks. The wood block is fastened down to the bench, and ink is spread on the metal plate with a brayer. The brayer is used to roll ink onto the raised surfaces of the wood block, then the frame is placed over the block. I print without a press, using a variety of tools, including a dry, hard, brayer (black rollers), the traditional Japanese tool, a baren (looks like a biscuit cutter), and the back of a kitchen spoon. The back side of the paper is burnished (rubbed) with these tools to transfer the ink from block to paper. Hand printing is a tactile procedure, the right amount of pressure must be used. The frame is then removed from the block and the paper is examined to see how the ink printed. I usually build up the ink with two or three repetitions. I'm looking to create texture and depth... and a painterly sort of impression. When I'm satisfied, I move to the next copy. This procedure is performed for each copy and each block. That's 40-50 times on and off the blocks for each copy of the print. It takes a good deal of time to make a small edition this way.
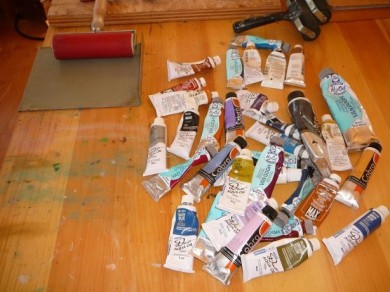
I use water miscible oil paints as ink for my prints. These are high quality, lightfast and have the same qualities as oils, but can be cleaned up with water, and dry faster. I can build a texture with these, and the result has the look of a painting, which is what I'm after.
Here is a picture of the way the registration works. With multiple color and block printing, it's essential that the paper be placed precisely in the same spot each time, so the ink colors fit perfectly together, like a puzzle. My solution was to make wooden frames that precisely fit the blocks, and temporarily pin the paper to the frames.
When the printing is complete, it takes a week or two (depending on weather conditions) for the ink to dry. Then the prints are removed from the frames, trimmed, and signed and titled in pencil. I also add my signature seal at the bottom right, with the year of printing.